Construction of a fibreglass roof for the Ibex.
As I came nearer and nearer to finishing the metal hardtop build, I became more and more convinced that I had not gone about it in the best way possible. The hardtop was going to be pretty heavy, and removing and refitting it would be a major task. Then a chance conversation at the Malvern show with a boat-builder friend led to a change of plan. Mike convinced me that a fibreglass shell hardtop similar to the 'Truckman' tops often fitted to crewcabs, or the bolt-on hardtops on Jeep Wranglers would be a more sensible option.
Over a few beers, a lot of pointing and talking was done, and ideas thrown about. One particular nicety was that the hardtop could be clamped to the existing 'hood frame', which is made of rollcage tubing, and so the structural protection is unchanged, and there is no need to provide strong mountings for the hardtop. I set about sketching ideas and hunting out 'bits' that would be required to complete a 'nice' build.
On the first available weekend, I took some measurements and headed off to the local hardware store for a large pile of MDF. With the addition of a couple of tubes of wood glue and several hundred screws, the mould took shape surprisingly quickly. What took a lot of time was filleting all the internal corners with body filler and sanding them to a decent profile. This is made more tricky by the fact that the wood is softer than filler so it's really easy to distort a panel by excessive sanding. Some of the curves will be easier to finish by sanding the gelcoat in the final piece, but if a defect can be fixed or improved at this stage it will pay dividends in the longer term.
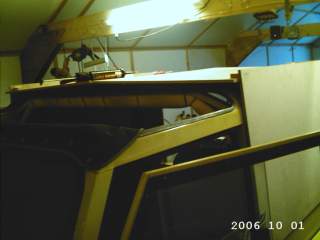
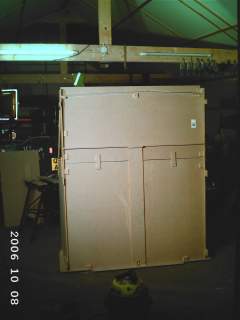
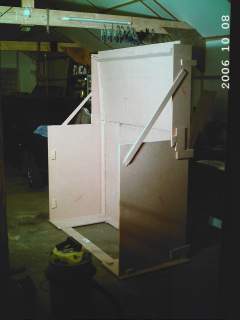
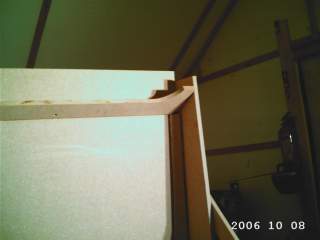
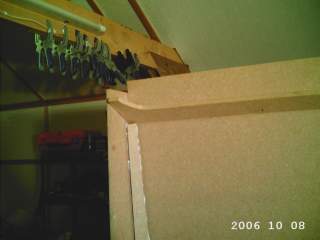
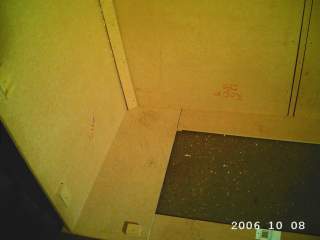
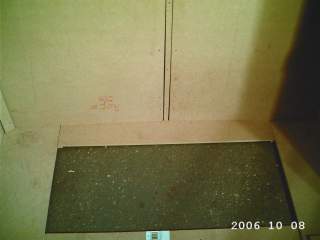
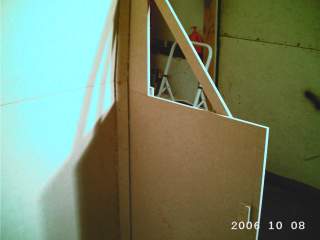
A lot of external bracing was added to the mould, in order to make it strong enough to free stand on the workshop floor and be worked on, and also because the front roof section has a stressed piece of MDF providing a gentle curve to added stiffness in the final panel. Once the mould was pronounced 'good enough', I called on Mike to carry out the tricky bits...

Mikes first job was to spraypaint the mould with a special high build primer, which seals the wood surface and allows us to achieve a better surface finish, as well as covering many of the inevitable surface marks caused by sanding and handling the piece. The paint is pretty toxic stuff, and while we had breathing masks, the fly population of my poorly ventilated workshop do not. At the end of the first coat, we picked about 10 dead insects out of the mould, and there were quite a few more on the workshop floor. At the end of the second coat, there were no unexpected visitors at all :-)
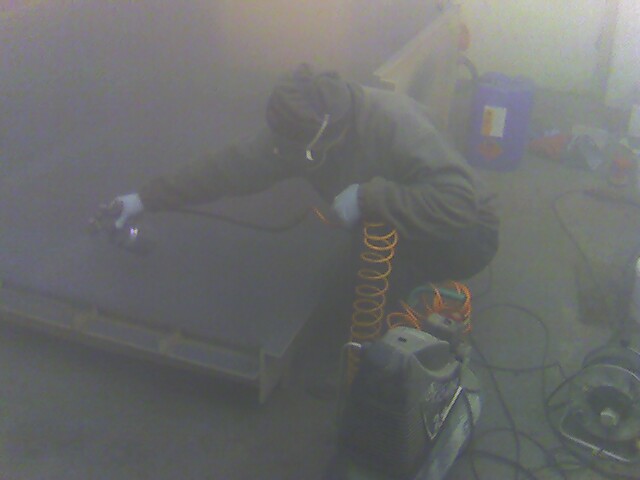
The atmosphere gets a bit funky as Mike sprays the mould with high build primer.
With both coats of primer flatted down to a decent finish, it was time to apply several coats of wax to allow the finished piece to be released easily from the mould. Not being one for shiny vehicles, 6 coats of hand applied release wax probably equates to more polish than I have every applied to all of my Land Rovers in more than 10 years of ownership!
The next stage was to apply the gel-coat, in black which will hopefully avoid the need to paint the finished hardtop, at least until it's covered a few greenlanes.
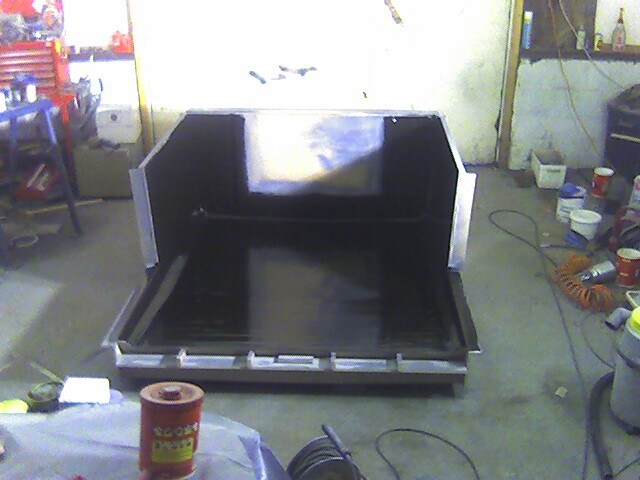
Due to the lowish winter temperatures and lack of air movement, the both the first and second gelcoats took absolutely ages to 'go off'. As an experiment, the for the second coat, a quick trip to B&Queue yielded a £9.99 fan heater with ceramic heater core, which is much safer than the more usual type as the temperatures involved are lower (handy when dealing with flammable solvents :-)). This which both raised the temperature, and stirred the air, so that the second coat cured quite quickly after we got set up..
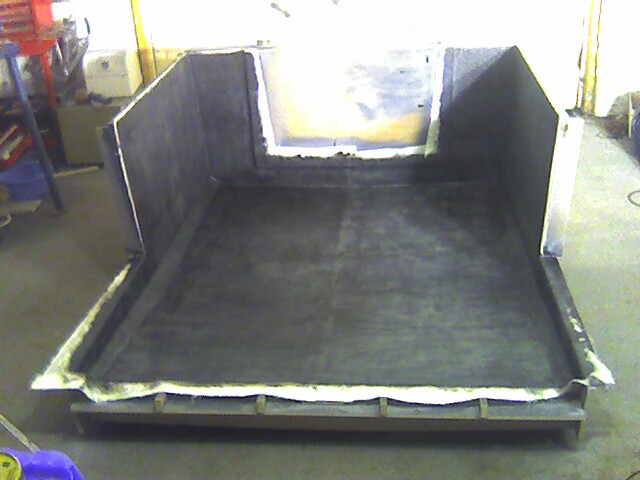
With the layup completed and cured, we then began to break out the roof from the mould. It does feel a bit odd to switch from taking great care not to damage to mould surface, to picking up a hammer and breaking up the mould to remove the finished piece.


The resulting roof makes the car quieter, warmer, dryer, and more secure - well worth the money and effort expended in my view.